

How To Create An Image In Python
Working with Images in Python
PIL is the Python Imaging Library which provides the python interpreter with image editing capabilities. It was developed by Fredrik Lundh and several other contributors. Pillow is the friendly PIL fork and an easy to use library developed by Alex Clark and other contributors. We'll be working with Pillow.
Installation:
Attention geek! Strengthen your foundations with the Python Programming Foundation Course and learn the basics.
To begin with, your interview preparations Enhance your Data Structures concepts with the Python DS Course. And to begin with your Machine Learning Journey, join the Machine Learning - Basic Level Course
- Linux: On linux terminal type the following:
pip install Pillow
Installing pip via terminal:
sudo apt-get update sudo apt-get install python-pip
- Windows: Download the appropriate Pillow package according to your python version. Make sure to download according to the python version you have.
We'll be working with the Image Module here which provides a class of the same name and provides a lot of functions to work on our images.To import the Image module, our code should begin with the following line:
from PIL import Image
Operations with Images:
- Open a particular image from a path:
try:img=Image.open(path)exceptIOError:pass - Retrieve size of image: The instances of Image class that are created have many attributes, one of its useful attribute is size.
fromPILimportImagefilename="image.png"with Image.open(filename) as image:width, height=image.sizeSome other attributes are: Image.width, Image.height, Image.format, Image.info etc.
- Save changes in image: To save any changes that you have made to the image file, we need to give path as well as image format.
- Rotating an Image: The image rotation needs angle as parameter to get the image rotated.
fromPILimportImagedefmain():try:img=Image.open("picture.jpg")img=img.rotate(180)img.save("rotated_picture.jpg")exceptIOError:passif__name__=="__main__":main()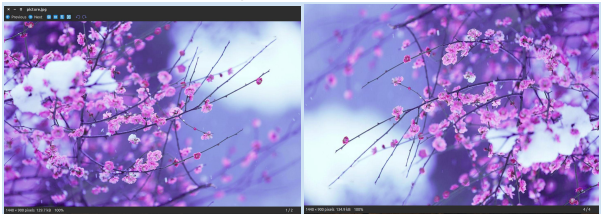
Note: There is an optional expand flag available as one of the argument of the rotate method, which if set true, expands the output image to make it large enough to hold the full rotated image.
As seen in the above code snippet, I have used a relative path where my image is located in the same directory as my python code file, an absolute path can be used as well. - Cropping an Image: Image.crop(box) takes a 4-tuple (left, upper, right, lower) pixel coordinate, and returns a rectangular region from the used image.
fromPILimportImagedefmain():try:img=Image.open("picture.jpg")width, height=img.sizearea=(0,0, width/2, height/2)img=img.crop(area)img.save("cropped_picture.jpg")exceptIOError:passif__name__=="__main__":main()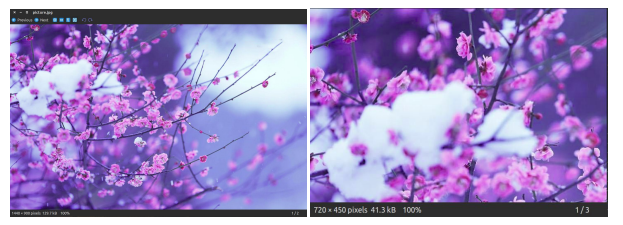
- Resizing an Image: Image.resize(size)- Here size is provided as a 2-tuple width and height.
fromPILimportImagedefmain():try:img=Image.open("picture.jpg")width, height=img.sizeimg=img.resize((width/2, height/2))img.save("resized_picture.jpg")exceptIOError:passif__name__=="__main__":main()
- Pasting an image on another image: The second argument can be a 2-tuple (specifying the top left corner), or a 4-tuple (left, upper, right, lower) – in this case the size of pasted image must match the size of this box region, or None which is equivalent to (0, 0).
fromPILimportImagedefmain():try:img=Image.open("picture.jpg")img2=Image.open("picture2.jpg")img.paste(img2, (50,50))img.save("pasted_picture.jpg")exceptIOError:passif__name__=="__main__":main()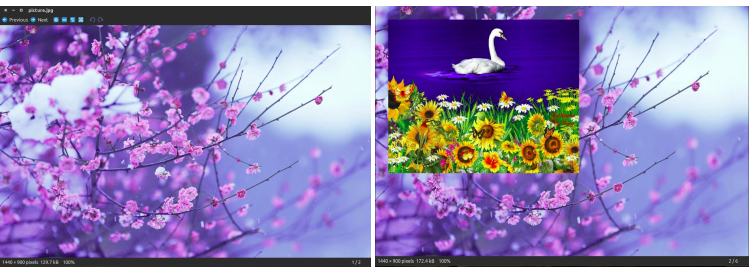
- Getting a Histogram of an Image: This will return a histogram of the image as a list of pixel counts, one for each pixel in the image. (A histogram of an image is a graphical representation of the tonal distribution in a digital image. It contains what all the brightness values contained in an image are. It plots the number of pixels for each brightness value. It helps in doing the exposure settings.)
from PIL import Imagedefmain():try:img=Image.open("picture.jpg")printimg.histogram()exceptIOError:passif__name__=="__main__":main()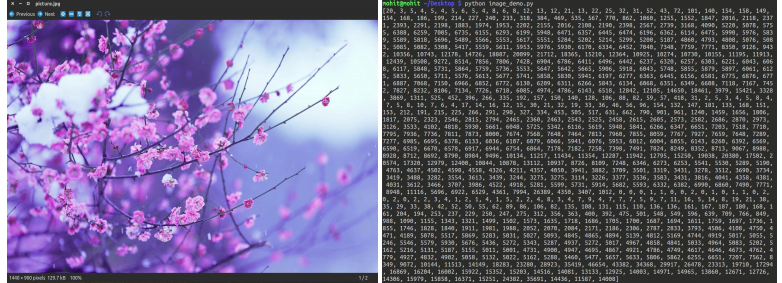
- Transposing an Image: This feature gives us the mirror image of an image
fromPILimportImagedefmain():try:img=Image.open("picture.jpg")transposed_img=img.transpose(Image.FLIP_LEFT_RIGHT)transposed_img.save("transposed.jpg")exceptIOError:passif__name__=="__main__":main()
- Split an image into individual bands: Splitting an image in RGB mode, creates three new images each containing a copy of the original individual bands.
fromPILimportImagedefmain():try:img=Image.open("picture.jpg")printimg.split()exceptIOError:passif__name__=="__main__":main()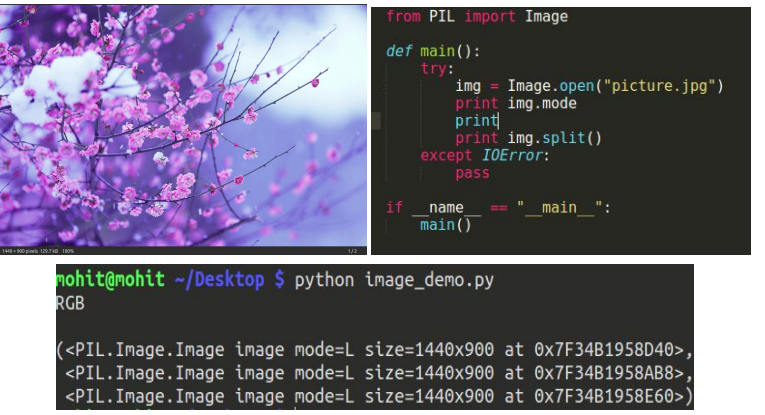
- tobitmap: Converting an image to an X11 bitmap (A plain text binary image format). It returns a string containing an X11 bitmap, it can only be used for mode "1" images, i.e. 1 bit pixel black and white images.
from PIL import Imagedefmain():try:img=Image.open("picture.jpg")printimg.modeprintimg.tobitmap()printtype(img.tobitmap())exceptIOError:passif__name__=="__main__":main()

- Creating a thumbnail: This method creates a thumbnail of the image that is opened. It does not return a new image object, it makes in-place modification to the currently opened image object itself. If you do not want to change the original image object, create a copy and then apply this method. This method also evaluates the appropriate to maintain the aspect ratio of the image according to the size passed.
from PIL import Imagedefmain():try:img=Image.open("picture.jpg")img.thumbnail((200,200))img.save("thumb.jpg")exceptIOError:passif__name__=="__main__":main()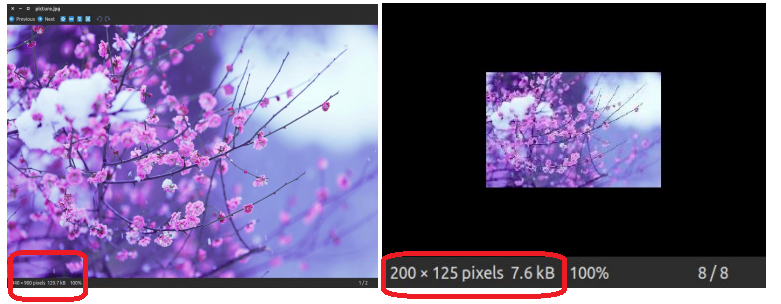
This article is contributed by Mohit Agarwal. If you like GeeksforGeeks and would like to contribute, you can also write an article using contribute.geeksforgeeks.org or mail your article to contribute@geeksforgeeks.org. See your article appearing on the GeeksforGeeks main page and help other Geeks.
Please write comments if you find anything incorrect, or you want to share more information about the topic discussed above.
How To Create An Image In Python
Source: https://www.geeksforgeeks.org/working-images-python/
Posted by: gomeztuaid1993.blogspot.com
0 Response to "How To Create An Image In Python"
Post a Comment